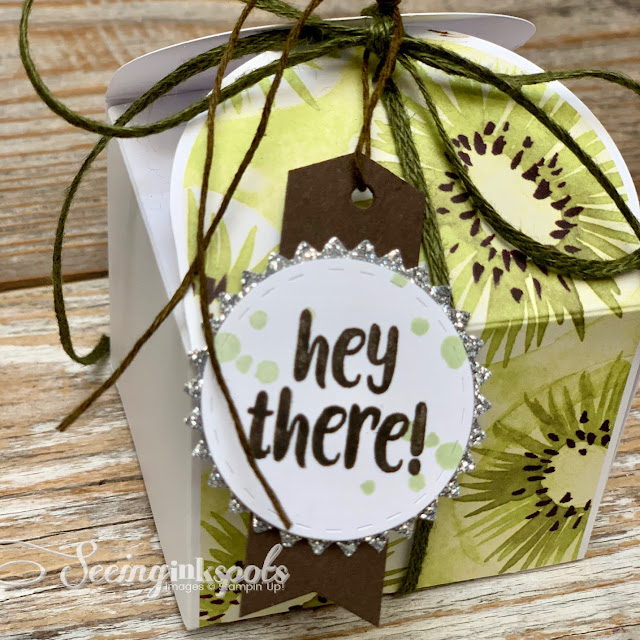
I'm always a sucker for a clever-cute box for packaging a little trinket or goodie. So, what I had envisioned for this project came to life as this stylish kiwi themed square box. I used two of the kiwi popsicle cards from the kit which I wrapped around a Basic White hand made box bottom to bring my vision to life.
Here's what I did:
- I cut one 3 3/4" square piece of Basic White Cardstock and two 2 1/4" x 1" strips of Basic White Cardstock.
- I scored the 3 3/4" square piece at 1/2" on all four sides, clipped out the four corners, and folded upward on all the scorelines.
- I scored both of the 1" strips right down the middle of each at 1/2".
- I trimmed off all the sticks from both of the popsicle cards.
- I scored across both of the popsicle cards at 2 1/4" from the bottom edge, clipped along the fold of the card from the top to the added scoreline, and then folded the tops inward.
- I used Stampin' Seal+ to add the 1" folded strips to each of the popsicles to allow me to attach the two cards to form the four sides of the box.
- I used more Stampin' Seal+ on the folded up tabs of the box bottom and inserted it into the popsicles.
- I wrapped Mossy Meadow Braided Trim around the box and tied a bow.
- I stamped a tag with the stamps from the kit and layered it on one of the silver glimmer die cuts from the kit and then layered it on a strip of Early Espresso Cardstock.
- I tied the tag to the box with a piece of the twine from the kit. Before I ran the twine through the tag I colored it with a Soft Suede Stampin' Blend.

Here's a side view where you can see how roomy this little box is.
If you would like to see my Up!STYLE Facebook Live video class where I'll be sharing a stack of projects featuring the So Cool Kit join me next week. I'll be on my Seeinginkspots Page on Thursday, May 6th at 10:00 a.m. PST. It's going to be a blast.
 |
| link to class reminder |
Be sure to click on all the names below to see lots more inspiration.


Comments
Post a Comment